stanley garage door opener instruction manual

Welcome to the Stanley Garage Door Opener Instruction Manual! This guide provides comprehensive instructions for installation, operation, and troubleshooting. Designed for various Stanley models, it ensures safe and efficient use of your garage door opener, covering essential steps and best practices for optimal functionality.
Overview of the Manual’s Purpose and Structure
This manual is designed to guide users through the safe and effective installation, operation, and maintenance of Stanley garage door openers. It is structured into clear sections, covering essential topics like safety precautions, installation steps, troubleshooting, and compatibility with remotes or smart devices. The manual emphasizes understanding safety symbols and provides detailed instructions for optimal performance. It serves as a comprehensive resource to ensure your garage door opener functions reliably and efficiently.
Importance of Following Safety Instructions
Following safety instructions in the Stanley Garage Door Opener manual is crucial to prevent accidents and ensure proper functionality. The manual highlights key safety symbols and warnings to alert users of potential hazards, such as crushing risks or electrical dangers. Ignoring these guidelines can lead to serious injury or equipment damage. Adhering to the instructions ensures a safe installation and operation process, protecting both users and the garage door system.
Installation Steps for Stanley Garage Door Openers
The manual guides you through pre-installation checks, assembly, and step-by-step mounting of your Stanley garage door opener, ensuring a secure and proper setup for reliable operation.
Tools and Hardware Required for Installation
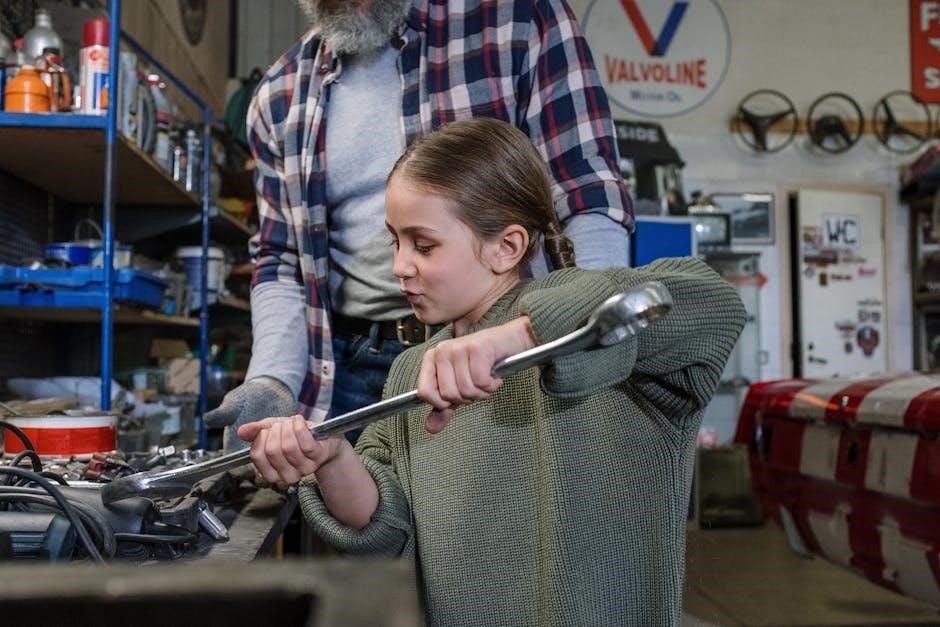
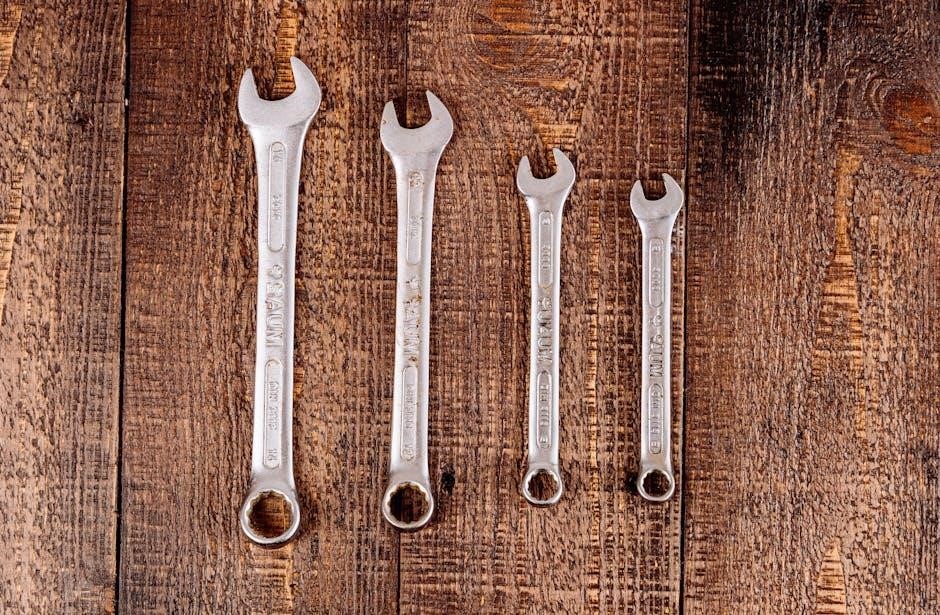
To install your Stanley garage door opener, you’ll need a drill, screwdrivers, wrenches, and bolts. Ensure all hardware provided in the kit is accounted for. Additional tools like a ladder and measuring tape may be necessary. Refer to the manual for specific requirements, as some models may need extra components. Organize all parts before starting to ensure a smooth installation process and proper functionality of your garage door opener system.
Step-by-Step Assembly and Mounting Guide
Begin by assembling the rail and attaching the motor unit. Mount the opener to the garage ceiling, ensuring proper alignment with the door. Secure all brackets tightly and connect the chain or belt to the door. Follow the manual’s diagrams for precise measurements. After assembling, test the opener to ensure smooth operation and adjust as needed for balanced door movement and reliable performance.
Safety Precautions and Warnings
Always read and follow all safety instructions in this manual. Keep the garage area clear during installation. Avoid loose clothing that could get caught. Never operate the door if someone is nearby or if it’s moving erratically. Ensure proper electrical connections to prevent hazards. Adhere to all warnings to ensure safe operation and avoid potential injuries.
Identifying Safety Symbols and Their Meanings
The manual uses specific safety symbols to highlight critical information. A triangle with an exclamation mark warns of potential dangers. A circle with a line through it indicates prohibited actions, such as not touching electrical components. These symbols are consistently used throughout the manual to ensure safety is prioritized during installation and operation. Always pause to understand their meaning before proceeding with any step.
Essential Safety Practices During Installation and Use
Always disconnect power before starting installation or maintenance. Wear protective gear like gloves and safety glasses. Ensure the garage door is properly assembled and securely mounted. Keep children and pets away during installation. Test the emergency stop feature after installation. Regularly inspect wires and moving parts for damage. Never operate the door if it’s damaged or malfunctioning. Follow the manual’s guidelines to ensure safe and reliable performance.
Understanding Remote Control Compatibility

Understanding remote control compatibility ensures seamless operation of your Stanley garage door opener. Check your model’s specifications to confirm remote compatibility and proper programming.
Can Universal Remotes Be Used with Stanley Garage Door Openers?
Universal remotes may work with Stanley garage door openers, but compatibility varies by model. Check your opener’s specifications for supported frequencies or technologies. Some models require specific Stanley remotes for optimal performance. Testing a universal remote is possible, but ensuring it supports your opener’s unique features is crucial for reliable operation and safety.
How to Determine the Correct Remote for Your Stanley Model
To find the right remote for your Stanley garage door opener, locate the model number on the opener or in the manual. Visit Stanley’s official website or contact customer support for compatibility information. Ensure the remote matches your opener’s frequency and features, such as MyQ or Wi-Fi connectivity, for seamless operation. Referencing user manuals or product guides can also help confirm the correct remote for your specific model.
Troubleshooting Common Issues
Identify issues like remote malfunctions or door not opening by checking batteries, ensuring switches are on, and verifying no obstructions. Consult the manual for specific solutions.
Diagnosing Problems with Remote Control Functionality
Common remote control issues include weak signal strength, dead batteries, or misalignment with the opener. Check if batteries are fresh and properly installed. Ensure no obstacles block the signal path. Test the remote near the opener to verify range. If issues persist, refer to the manual for model-specific troubleshooting steps or consider performing a factory reset to restore functionality.
Resolving Issues with the Garage Door Opener Motor
If your Stanley garage door opener motor isn’t functioning properly, check for unusual noises, lack of movement, or intermittent operation. Ensure the opener is properly plugged in and the circuit breaker isn’t tripped. Inspect the belt or chain for wear or misalignment. Consult the manual for specific diagnostic steps, such as testing the motor’s circuit board or resetting the system. If issues persist, contact Stanley customer support for professional assistance.
Maintenance and Care Tips
Regularly clean and lubricate moving parts to ensure smooth operation. Check belts and chains for wear and tighten loose screws. Refer to the manual for detailed maintenance schedules.
Regular Maintenance Tasks to Ensure Proper Function
Regular maintenance is crucial for optimal performance. Clean the rail and lubricate moving parts every 3-6 months. Inspect belts or chains for wear and tighten screws. Ensure the door is balanced and aligned properly. Check the garage door opener’s sensors for obstructions. Replace worn-out parts promptly and refer to the manual for specific maintenance schedules tailored to your Stanley model. Consistent upkeep prevents malfunctions and extends the lifespan of your garage door opener system.
How to Clean and Lubricate Moving Parts
Use a soft cloth to wipe down the rail, rollers, and springs, removing dirt and debris. Apply a silicone-based lubricant to moving parts like rollers and hinges. Avoid using grease, as it attracts dust. Lubricate every 3-6 months to maintain smooth operation. Ensure the garage door is properly balanced after lubrication. Regular cleaning and lubrication prevent wear and tear, ensuring your Stanley garage door opener operates efficiently and lasts longer.
Factory Reset and Programming Instructions

Performing a factory reset restores your Stanley garage door opener to default settings. Press and hold the “Learn” button until the LED blinks, then release. Re-program remotes by pressing the remote button and the “Learn” button simultaneously until the LED confirms pairing. Follow manual instructions for specific models to ensure proper reset and programming procedures are completed successfully.
When and How to Perform a Factory Reset
A factory reset is necessary when troubleshooting connectivity issues or transferring ownership. Locate the “Learn” button on the motor unit. Press and hold it until the LED blinks rapidly, indicating the reset process. Release the button and confirm by observing the LED pattern. This erases all programmed remotes and keypad codes, restoring default settings. Follow manual instructions for precise timing and confirmation signals. Ensure the process is completed correctly to avoid operational issues. Always refer to your Stanley manual for model-specific reset procedures. Regular resets can prevent unauthorized access and resolve recurring malfunctions. If unsure, consult customer support for assistance. Resetting ensures a clean slate for reprogramming remotes and keypads, maintaining garage security and functionality. After resetting, reprogram all devices promptly to restore full operation. Proper execution is key to avoiding further complications. For complex issues, professional help may be required. Keep your manual handy for quick reference during the reset process.
Programming the Remote Control After a Reset
After performing a factory reset, reprogram your remote by pressing and holding the “Learn” button on the motor unit until the LED blinks; Then, press and hold the desired button on your remote until the LED confirms pairing. Repeat for additional remotes. This ensures secure and proper functionality. Always refer to your Stanley manual for specific instructions tailored to your model. Prompt reprogramming maintains garage security and convenience. If issues persist, contact customer support. Ensure all remotes are programmed to avoid unauthorized access. Proper pairing is crucial for reliable operation. Follow manual guidelines carefully for accurate results. If unsure, seek professional assistance. Regular checks ensure smooth functionality. Keep your manual accessible for quick reference during reprogramming. This step is vital for restoring remote control capabilities after a factory reset.
Compatibility with Smart Devices and Gate Openers
Stanley garage door openers are compatible with smart devices and gate openers, offering seamless integration for enhanced home automation. Aladdin Connect enables effortless smartphone control for convenience.
Using Smart Apps to Control Your Garage Door Opener
Stanley garage door openers are compatible with smart apps like Aladdin Connect, enabling remote monitoring and control via smartphones. Users can open, close, and monitor their garage doors from anywhere. The app provides real-time notifications and integrates with voice assistants for added convenience. Ensure your opener is compatible and follow manual instructions for proper setup and secure integration.
Compatibility with Electric Gates and Additional Garage Doors
Stanley garage door openers can be integrated with electric gates and multiple garage doors, enhancing functionality. Universal remotes, like the LM 375UT, support two doors or gates. Ensure compatibility by checking your model and following manual instructions for setup. This flexibility allows seamless control of all access points, improving convenience and security for your property. Always refer to the manual for specific pairing and installation guidance.

Keypad Setup and Operation
Mount the keypad securely outside the garage and enter your PIN to access the door. Test functionality after setup. Refer to the manual for model-specific instructions.
Installing and Programming the Keypad
Mount the keypad securely outside the garage, ensuring easy access. Follow the manual for specific wiring and placement instructions. Enter your PIN to program the keypad. Test the keypad by entering your PIN and observing the door’s response. Refer to the manual for model-specific programming instructions. Ensure the keypad is synced with your garage door opener for seamless operation. Always test functionality after installation to confirm proper setup.
Troubleshooting Keypad Malfunctions
If the keypad fails to respond, check the battery condition and ensure proper installation. Verify wiring connections and test the keypad after addressing these issues. If the keypad still malfunctions, reset it by following the manual’s instructions. Re-program the keypad if necessary, ensuring synchronization with the garage door opener. Refer to the manual for model-specific troubleshooting steps to resolve keypad-related problems effectively.
Warranty and Customer Support Information
This section outlines warranty coverage, customer support contact details, and online resources for assistance with your Stanley garage door opener.
Understanding Your Warranty Coverage
Your Stanley garage door opener comes with a warranty that covers manufacturing defects and ensures product reliability. The warranty period varies by model, typically covering parts for several years. Proper registration and adherence to maintenance guidelines are essential to maintain coverage. Refer to your manual for specific details on warranty terms, conditions, and exclusions to ensure your investment is protected.

How to Contact Stanley Customer Support
For assistance with your Stanley garage door opener, contact customer support via phone, email, or their official website. Visit their support page for contact details and resources. Ensure you have your model number and warranty information ready for efficient service. Their team is available to address queries, provide troubleshooting guidance, and help with warranty claims, ensuring your needs are met promptly and effectively.
Your Stanley garage door opener is now set up for optimal performance. Refer back to this manual for future troubleshooting or maintenance needs. Safe operation guaranteed!
Final Tips for Optimal Use of Your Stanley Garage Door Opener
- Regularly inspect and maintain moving parts to ensure smooth operation.
- Test the garage door opener’s safety features monthly.
- Store remotes and keypads securely to prevent unauthorized access.
- Keep the opener’s path clear of obstacles for proper function.
- Reference this manual for troubleshooting common issues.
Encouragement to Refer Back to the Manual for Future Reference
Congratulations on completing the setup of your Stanley garage door opener! For future reference, always keep this manual handy. It contains essential troubleshooting tips, maintenance reminders, and safety guidelines. Revisiting the manual ensures you stay updated on optimal usage and features. Save it securely for quick access when needed. Your garage door opener will perform best when used as instructed.


Leave a Reply
You must be logged in to post a comment.