kiss acrylic nail kit instructions pdf

The KISS Acrylic Nail Kit is a top choice for at-home nail enhancements‚ offering an all-in-one solution for achieving salon-quality results. Designed for convenience‚ it includes everything needed to create stunning‚ long-lasting acrylic nails. Perfect for beginners and DIY enthusiasts‚ this kit has become a popular trend‚ allowing users to skip the salon and still enjoy professional-looking nails. With easy-to-follow instructions and high-quality components‚ it’s a must-have for anyone looking to elevate their nail game from the comfort of home.
Overview of the Kit and Its Benefits
The KISS Acrylic Nail Kit is a user-friendly‚ all-in-one solution for achieving professional-quality acrylic nails at home. Packed with essential tools and materials‚ it includes acrylic beads‚ primer‚ glue‚ and instructions to guide you through the process. This kit is designed to deliver long-lasting results with a salon-like finish. Its compact design makes it easy to use anywhere‚ while the high-quality components ensure durability and a natural look. Perfect for beginners and experienced users alike‚ the KISS Acrylic Nail Kit offers convenience‚ affordability‚ and versatility‚ making it a top choice for those wanting to enhance their nails without the salon visit.
Why Choose the Kiss Acrylic Nail Kit for At-Home Use
The KISS Acrylic Nail Kit is a perfect at-home solution for achieving salon-quality nails without the hassle. It’s beginner-friendly‚ with a step-by-step guide that makes application easy. The kit includes everything needed for a professional finish‚ from prep to final touches. Its portability and comprehensive design allow users to achieve long-lasting‚ durable results in the comfort of their own homes. This cost-effective option eliminates the need for salon visits‚ saving time and money. With its high-quality components and user-friendly instructions‚ the KISS Acrylic Nail Kit is an excellent choice for anyone looking to enhance their nails effortlessly and beautifully.
Preparation for Applying Acrylic Nails
Cleaning and prepping your nails is essential for a successful application. Use nail polish remover to clean your nails‚ then wash hands with soap. Wipe nails with alcohol to remove residue‚ ensuring a clean surface for the acrylics to adhere properly. This step ensures long-lasting results and prevents lifting or uneven application. Proper preparation is key to achieving a professional finish with the KISS Acrylic Nail Kit.
Cleaning and Preparing Your Natural Nails
Begin by thoroughly cleaning your natural nails using nail polish remover to eliminate any oils or residue. Wash your hands with soap to ensure cleanliness. Next‚ wipe each nail with a cotton ball soaked in alcohol to remove dirt or oils‚ creating a clean surface for the acrylic application. Properly prepping your nails is crucial for ensuring the acrylics adhere well and last longer. Avoid using lotions or oils on your nails or cuticles before application‚ as this can interfere with adhesion. A clean‚ dry surface is essential for a successful and long-lasting acrylic nail application.
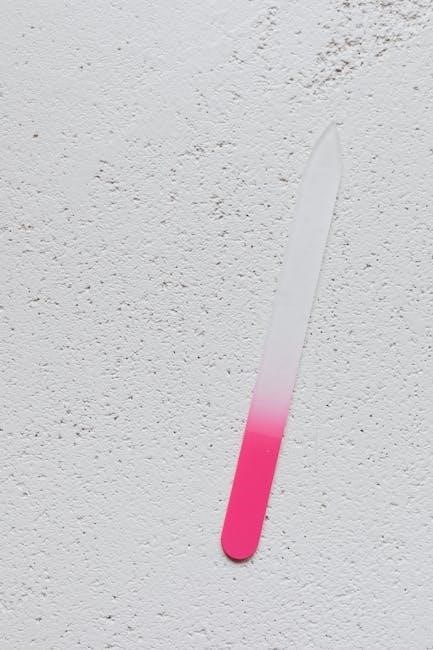
Shaping Your Natural Nails for the Best Fit
Shaping your natural nails is a critical step to ensure a seamless fit with the acrylic nails. Use a nail file or buffer to gently shape your natural nails into your desired form‚ such as oval‚ almond‚ or square. Avoid overly aggressive filing‚ as this can weaken your nails. Lightly buff the surface of your natural nails to create a rough texture‚ which helps the acrylic adhere better. Ensure the natural nail is shaped to match the curve and length of the acrylic nail tip for a natural‚ polished look. Proper shaping enhances both comfort and durability of your acrylic nails.
Applying the KISS Acrylic Primer
Applying the KISS Acrylic Primer is a vital step to ensure a strong bond between your natural nail and the acrylic. Using the brush provided‚ carefully apply a thin‚ even layer of primer to the growth area of your natural nail only. Avoid getting primer on your cuticles or skin‚ as this can cause irritation. The primer helps create a porous surface for better adhesion and prevents lifting. Allow the primer to fully air-dry before proceeding with the acrylic application. Proper use of the primer ensures a long-lasting and durable finish for your at-home acrylic nails.
Application Process Step-by-Step
The KISS Acrylic Nail Kit simplifies the application process with clear‚ step-by-step instructions. Start by prepping your nails‚ then apply primer‚ place the acrylic bead‚ shape‚ and finish for a polished look.
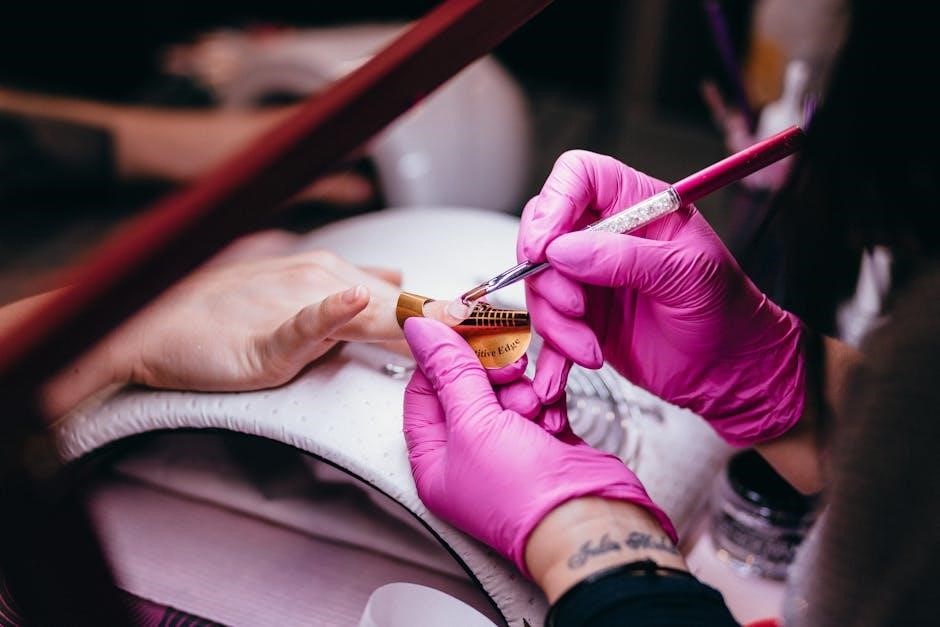
Placing the Acrylic Bead on Your Nail
Placing the acrylic bead is a crucial step in achieving a natural look. Start by dipping your brush into liquid monomer‚ then gently pick up a small bead of acrylic mixture. Position the bead at the center of your natural nail‚ near the cuticle. Lightly press the bead down‚ ensuring it adheres evenly. Use a patting motion to blend it with your natural nail‚ feathering the edges for a seamless finish. Avoid applying too much pressure‚ which can cause lifting. This technique ensures durability and a natural appearance‚ perfect for at-home application. Proper placement enhances the overall look and longevity of your acrylic nails.
Shaping and Smoothing the Acrylic
After placing the acrylic bead‚ use a nail file to shape the nail to your desired form. Start with a coarse grit file to outline the shape‚ then switch to a finer grit for smoothing. Gently feather the edges to blend the acrylic with your natural nail‚ ensuring a seamless transition. Avoid applying too much pressure‚ which can cause damage. Lightly buff the surface to achieve a high-gloss finish. Proper shaping and smoothing enhance the natural appearance of your nails and ensure long-lasting wear. This step is essential for achieving a salon-quality look at home with minimal effort.
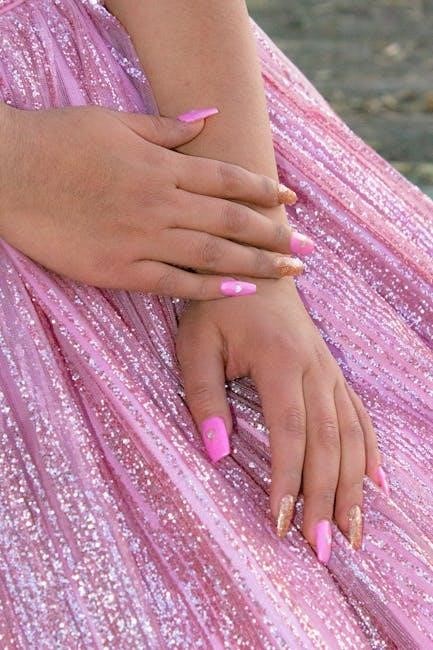
Finishing Touches for a Salon-Quality Look
Once the acrylic is shaped‚ apply a thin layer of top coat to seal the surface and add shine. Use a lint-free wipe or cotton ball dipped in acetone to clean any excess acrylic or top coat from around the cuticles and nail bed. Gently buff the nails to ensure an even finish. Finally‚ apply a cuticle oil to hydrate and protect the skin around your nails. These final steps enhance the appearance of your acrylic nails‚ leaving them with a professional‚ polished look that rivals salon results. Proper finishing ensures durability and a flawless aesthetic.
Maintenance and Longevity of Your Acrylic Nails
To maintain your acrylic nails‚ avoid harsh chemicals and excessive water exposure. Moisturize your cuticles regularly and avoid using nails as tools. Touch up tips and fills as needed to prevent lifting and ensure long-lasting wear.
Tips for Extending the Wear of Your Acrylics
To extend the wear of your acrylic nails‚ avoid exposing them to harsh chemicals or excessive water. Moisturize your cuticles regularly to prevent dryness and lifting. Avoid using your nails as tools‚ as this can cause chips or cracks. Gently file any rough edges and touch up tips as needed. Keep the area around your nails clean and dry to prevent bacteria buildup. Applying a thin layer of top coat weekly can also help seal and protect the acrylic. By following these care tips‚ you can enjoy your salon-quality acrylic nails for a longer period.
Common Mistakes to Avoid for Longer-Lasting Nails
One common mistake is applying the acrylic mixture too thickly‚ which can lead to uneven surfaces and lifting. Avoid using too much glue‚ as this can weaken the bond between your natural nail and the acrylic. Not preparing your nails properly‚ such as skipping the primer or cleaning step‚ can result in poor adhesion. Additionally‚ not allowing each layer to fully dry before adding more can cause the nails to peel. Gently handling your nails after application and avoiding excessive force can also prevent damage. By steering clear of these errors‚ you can ensure a stronger‚ longer-lasting acrylic nail application.
Troubleshooting Common Issues
Common issues like lifting or uneven application can be fixed by applying a thin acrylic layer and pressing firmly. Air bubbles can be smoothed with a brush.
How to Fix Lifting or Uneven Application
If lifting occurs‚ gently buff the affected area with a nail file to create a rough surface. Apply a small amount of liquid monomer to the lifted part and press firmly. Use a lint-free wipe to remove excess. For unevenness‚ apply a thin layer of acrylic mixture‚ blending it smoothly with the surrounding nail. Allow it to harden‚ then shape and file for an even finish. Avoid heavy pressure‚ as this can cause further issues. Proper application and blending are key to maintaining a professional‚ seamless look with your KISS Acrylic Nail Kit.

Removing Your Acrylic Nails Safely
To safely remove your acrylic nails‚ start by soaking a cotton ball in acetone and placing it on top of each nail. Wrap your finger with aluminum foil to hold the cotton in place. Let it sit for 10-15 minutes to loosen the adhesive. Gently scrape off the acrylic using a cuticle pusher or wooden stick. Avoid using force‚ as it can damage your natural nail. Once removed‚ wash your hands and moisturize your nails and cuticles to restore hydration. Proper removal ensures healthy nails and prevents potential damage.

Important Safety Tips
When using the KISS Acrylic Nail Kit‚ ensure proper ventilation to avoid inhaling strong fumes. Wear gloves to protect your skin from irritation. Avoid applying near open flames. Follow instructions carefully to prevent burns or damage. Use the provided tools gently to avoid scratching your nails or cuticles. Never apply acrylics on weak‚ damaged‚ or infected nails. Keep the kit out of children’s reach. If you experience any discomfort or allergic reactions‚ discontinue use. Perform a patch test before full application to check for sensitivity. Always store products in a cool‚ dry place‚ away from direct sunlight. Safety ensures a successful and enjoyable experience.
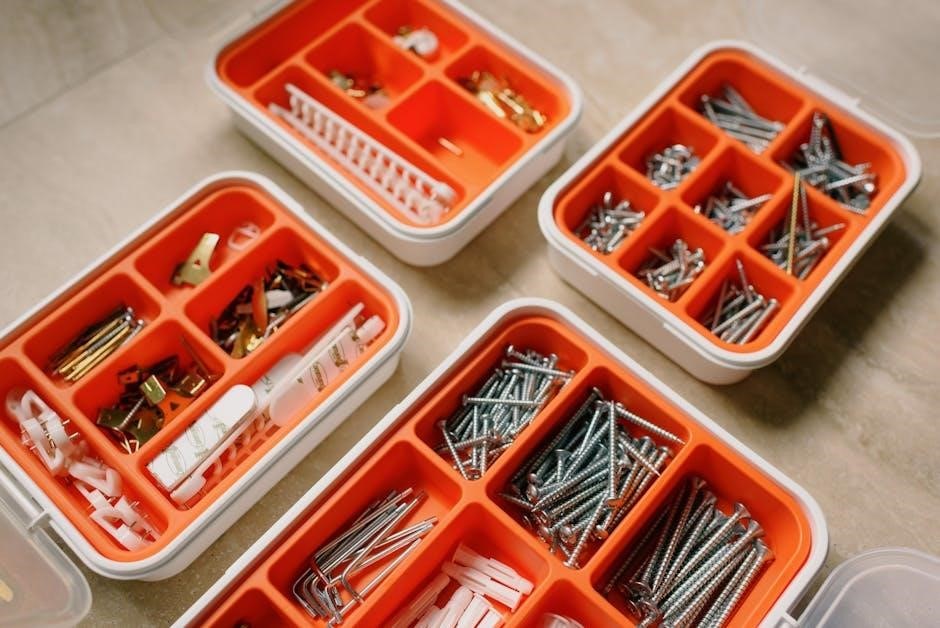
Tools and Supplies You’ll Need
To successfully use the KISS Acrylic Nail Kit‚ gather these essential tools and supplies. Start with the kit itself‚ which typically includes acrylic nails‚ adhesive tabs‚ and primer. You’ll also need nail glue for securing the nails and a small brush or sponge applicator for the acrylic mixture. A nail file or buffer is necessary for shaping and smoothing. Additionally‚ have a cuticle pusher or orange stick handy for gently lifting or adjusting the nails. Keep lint-free wipes or cotton balls on hand for cleaning up excess adhesive or primer. Finally‚ use a nail cleanser to ensure your natural nails are free of oils and residue before application. These tools will help you achieve a professional-looking finish.
Additional Tips for a Salon-Finish Look
For a salon-quality finish‚ ensure seamless blending at the cuticle area by gently feathering the acrylic mixture. Use a lint-free wipe to remove excess adhesive and clean up as you go. Apply thin layers of acrylic‚ allowing each to harden before adding more‚ to prevent lifting. Finish with a glossy top coat for a professional shine. To maintain a natural look‚ blend the acrylic at the tip with a buffing block. Avoid over-filing‚ as it can weaken the nail. Finally‚ clean your tools with nail cleanser to prevent product buildup and ensure precise application;
With the KISS Acrylic Nail Kit‚ achieving salon-quality nails at home is easier than ever. By following the step-by-step instructions and tips provided‚ you can create stunning‚ long-lasting acrylic nails that enhance your personal style. Remember to prioritize proper preparation‚ application‚ and maintenance to ensure the best results. Whether you’re a beginner or a DIY enthusiast‚ this kit empowers you to take control of your nail game and enjoy professional-looking nails from the comfort of your home. Thanks to its user-friendly design and high-quality components‚ the KISS Acrylic Nail Kit is a must-try for anyone looking to elevate their beauty routine.


Leave a Reply
You must be logged in to post a comment.